 (FYI...this is a project for someone with mid-level and above sewing skills)
First step was to look around and find a suitable dress to use as the starter for my project. I went to the Goodwill (great stuff here, folks!) and found an amazingly hideous brown polyester thingey. (I think it's a dress...but no idea who would ever wear or, or to where!)
Cost at Goodwill? $5.99
I also bought a really pretty cool tablecloth in heavy white with a very subtle fleur de lis pattern in it for $5.99 as well.
My recommendation for this project is to go ahead and buy a dress that is either your size or a size too small. As we're actually adding material to this dress rather than taking it away, we're going to be making the final dress larger than it already is. But don't go running to buy a size 2 if you're an 8 normally...Momma's makin' costumes, here...not miracles!)

Okay, take the dress and you're going to slit it from hem to neck right down the middle in the front. This will allow us to open up the dress and put in the contrasting fabric. Fold back the edges and get a rough approximation of how wide you'd like your center to be.

Take the dress and turn it inside out. Using your fusion tape (God's gift to those of us that either can't sew...or don't want to sew...) you're going to fold under your edges along the line we just cut.
Once that's all tucked under and taped, you'll need to start putting in the center contrasting fabric. Take your contrasting fabric and tuck it under the main dress we're using and figure out how wide you'd like the top of the bodice to be. Know that when you're doing this dress, it will flare out at the bottom, so you can either cut your insert fabric into a modified triangluar shape with it narrow at the top and then flared at the bottom, or as a straight column type shape and then add panels along the bottom for flare. I cut mine so that it was a straight column as it is a much easier shape to start with and great for just getting the project figured out. As you go along and make new dresses or have a higher skill level, you can play around with the shape and sizes you want. For now, we'll keep it simple.


Once you get the contrasting fabric measured, cut it to the size you want. You'll be sewing it into the front of the brown dress to form the stomach panel. Again, use the fusion tape for a quick baste that will help keep the two pieces of fabric in place.

Now to my least favorite part. Yup. Haul out that sewing machine. You're going to want to stitch the brown OVER the white in order for the white panel to be behind the brown in the final project.

 Once the stomach panel is all sewn in, you can get a good idea of what your final project is going to look like! My brown dress is shorter than I am so I used extra pieces of the white tablecloth to act as an underskirt and add an extra six inches of length to the final dress all around, but if your dress is the right length to start with, you may have only to do the single panel down the front and be done with the major sewing!
 Because I had to add extra length to mine, I had to also trim up the hem at the bottom to make sure it was even. I don't have a ruler long enough to provide for a straight line at the bottom and my cloth tape kept wiggling, so I used my Laser Level I normally use for wood working. I put the dress on the floor, measured where I wanted the length to be, and then used the laser level to give me a straight line. Perfect! Using the laser light as my guide, I got a perfectly straight cut!
Now for the fun part...embellishing!!!
WORDS TO THE WISE...WHEN USING AN IRON ON ANY SYNTHETIC MATERIAL, TEST IT BEFORE YOU START AS SOME FABRICS HAVE A LOWER MELT TEMPERATURE THAN OTHERS!!! You don't want to be half way through your project and end up melting a portion of it because your iron's too hot!
Okay, disclaimer done.

The trim is where you can get truly creative and do whatever you'd like to embellish your gown. I stuck to simple gold and white to help tie the brown of the gown together with the white of the tablecloth. I used gold trim that's available at any craft store (my favorite is Joann's for selection...the one in Porter Ranch CA is like the Costco of craft stores...it's HUGE!) Again, using our handy dandy fusion tape, adhere it to the front of the dress along the sides we've just cut and sewn down to our contrasting fabric.
Once you're done with your trim, we have to add grommets in order to make the front lace closed. Put the dress on and figure out where under your bust you'd like it to lace closed for a nipped in look. Mark that with some pins and then take the dress off. When you add the grommets, you're going to want to go through the front of the fabric. This part is tricky. You are going to want to take the front fabric with your trim and fold the white fabric UNDER it, so when you punch your holes for the grommets, you're punching all the way through the layer of contrasting fabric as well. At the top of the bodice, I stitched in some elastic to help gather the material snugly so that it fit well but still provided enough room for my ta-tas without having it gaping open. When I lace up the grommets, it cinches in my waist and the elastic at the top allows for my boobs.


 For the sleeves, I simply repeated the methods we used for the front of the dress by slitting them from wrist to shoulder and then sewing in (or fusion tape...if yours is strong enough!) the contrasting fabric. I wanted to do the deep "bell" shaped sleeves you sometimes see on other dresses but ran out of time for this project. I will add those on later and include the tutorial as well. For now, they look great the way they are.
Now it's time to admire all your hard work! Trim off any extra threads, tack down the last of your trim, turn your dress right side out and try it on! I used a length of brown cord that I had from another project to lace up the front...
And there we are...before and after. From fashion disaster to refined lady!

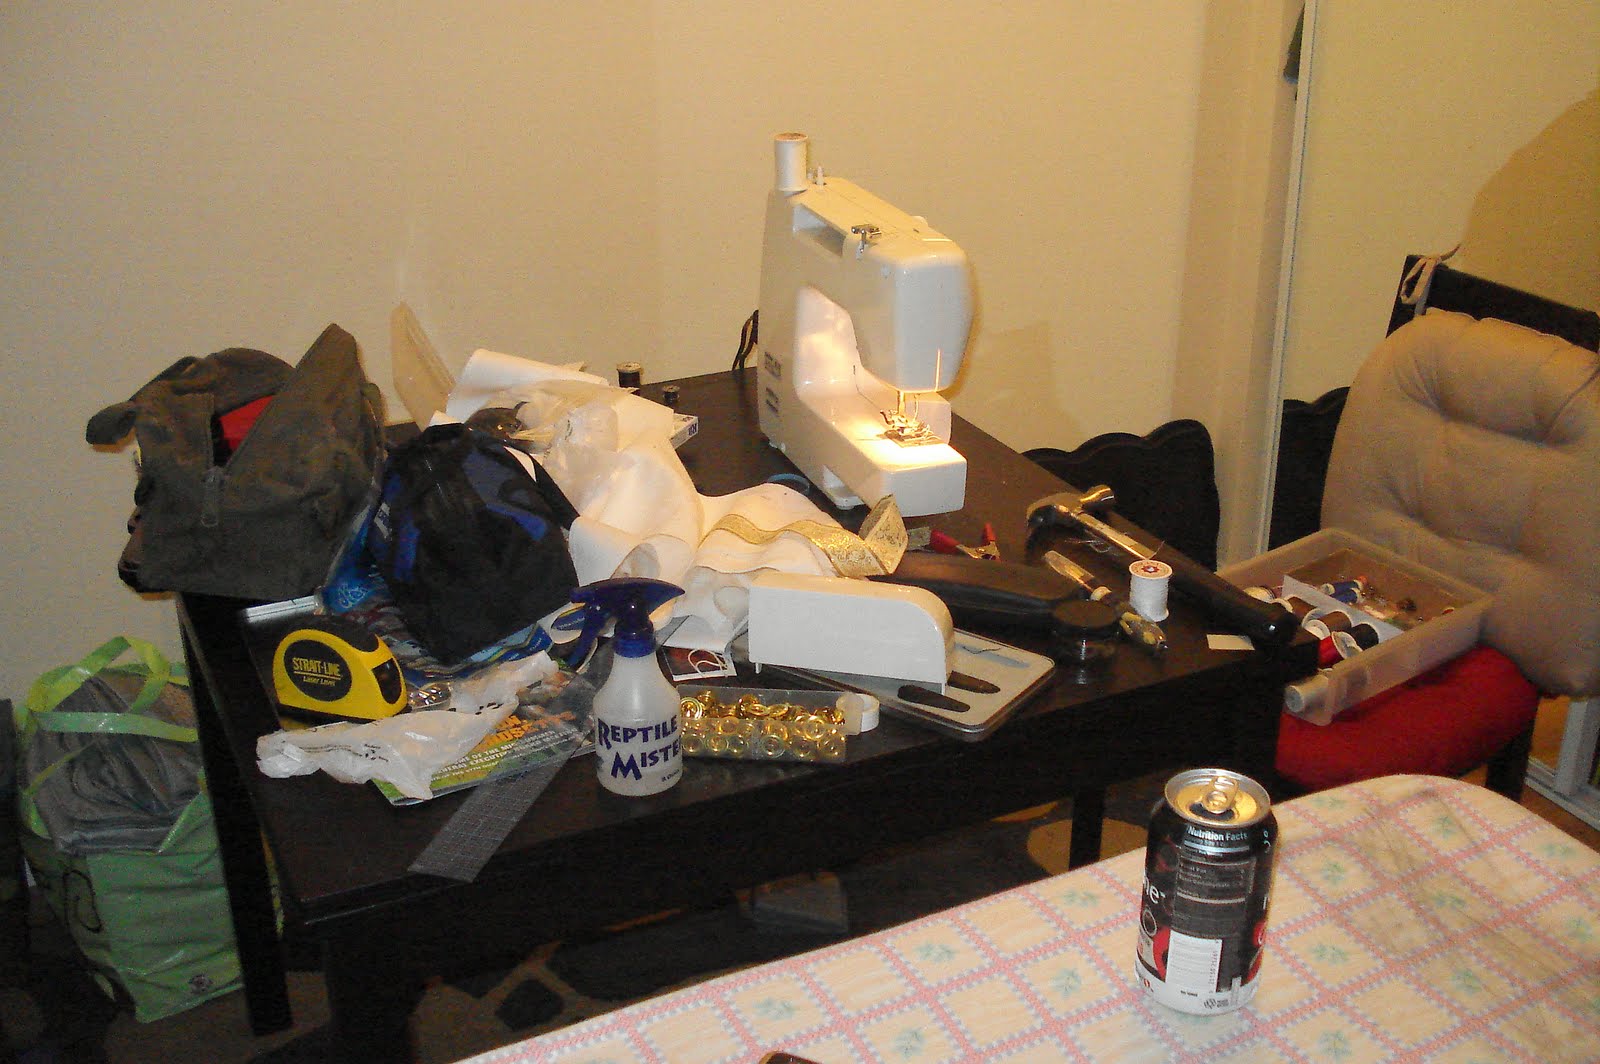
Just remember to clean up after yourself when you're all done!
HAPPY HALLOWEEN!!!


